
What a bank statement actually is
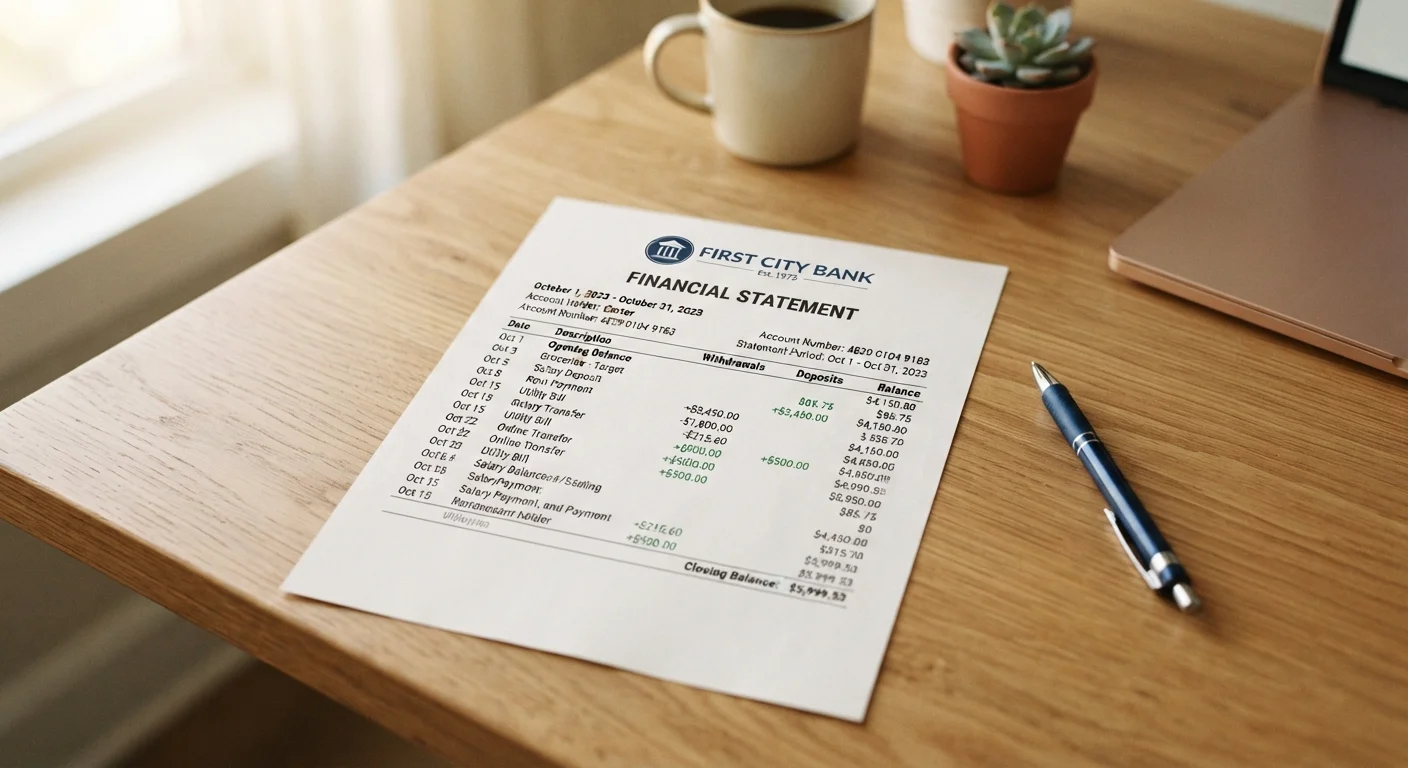
A bank statement is a record your bank produces, usually monthly, that documents every transaction in your account during a set period. It is not just a receipt. It is the official record you can use to dispute errors, verify direct deposits, and document your financial history for applications such as loans or rental agreements.
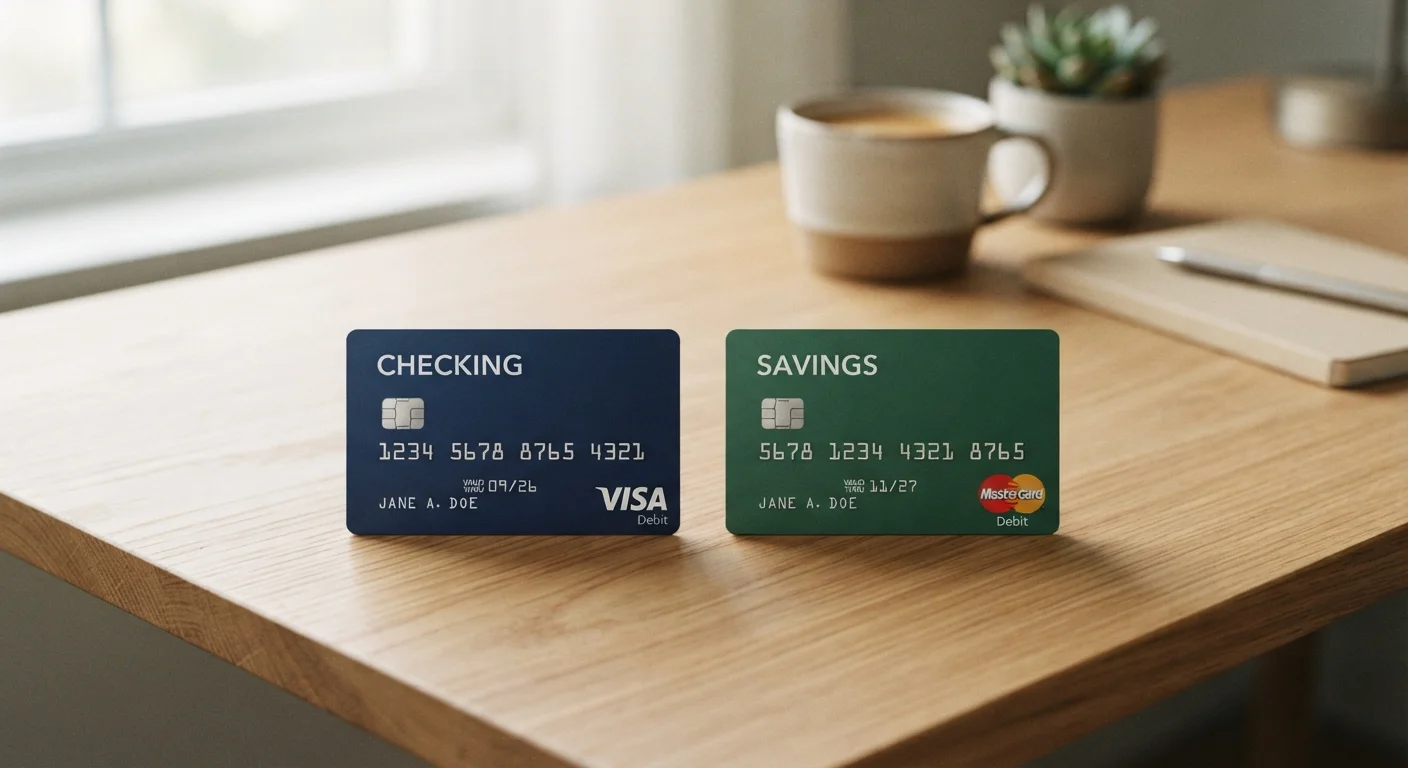
Paper statements arrive by mail; electronic statements (also called e-statements) are available through your online banking portal. Both contain identical information. If you have both a checking and a savings account at the same bank, each account generates its own statement. For more on how these two account types differ, see how checking and savings accounts work differently.
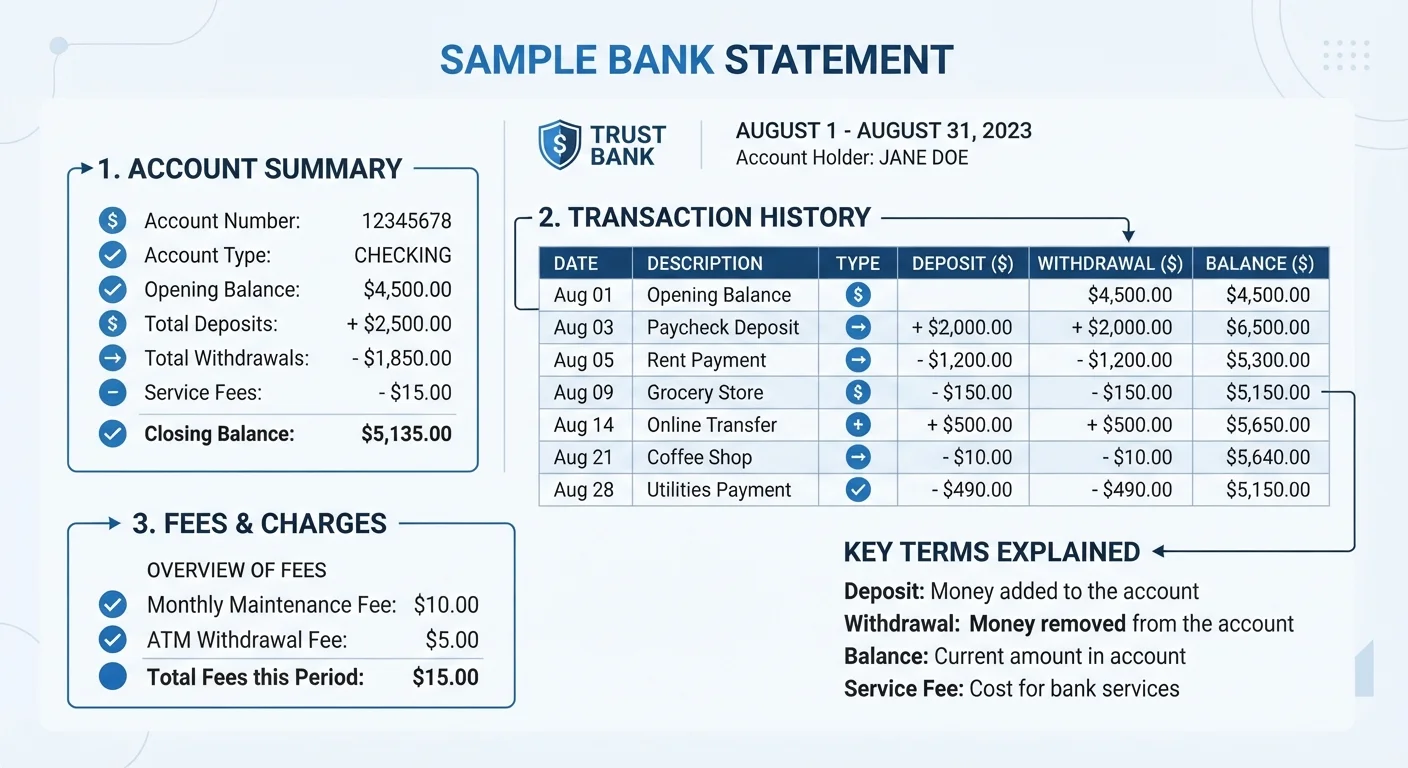
How to work through each section
What you will need
Locate your account summary section
The account summary is usually at the top of the first page. It shows your account number (often partially masked for security), the statement period (the start and end dates the document covers), your opening balance, and your closing balance.
Confirm the statement period matches the month you think you are reviewing. Banks occasionally issue corrected statements, so the date range tells you which version you have.
Read the opening and closing balances
The opening balance is the amount in your account at the start of the statement period. The closing balance is what remained at the end. The difference between the two, after adding all deposits and subtracting all withdrawals and fees, should equal zero. If your math does not reconcile, look for a pending transaction or a fee posted after the period closed.
Pull up your previous statement and confirm its closing balance matches this statement's opening balance. A mismatch is uncommon but worth investigating with your bank immediately.
Decode the transaction history
Each transaction row typically includes a date, a description or merchant name, a transaction code, and a debit or credit amount. Understanding the codes tells you the payment method used:
- ACH (Automated Clearing House): an electronic transfer, common for direct deposits, bill payments, and payroll.
- POS (Point of Sale): a debit card purchase made at a physical or online merchant.
- ATM: cash withdrawn or deposited at an automated teller machine.
- CHK or CK: a paper check processed against your account.
- Wire: a direct bank-to-bank transfer, usually for larger amounts.
Some banks also show a running balance column after each transaction. This lets you trace your account balance day by day across the statement period.
Review the fees section
Most statements group fees separately or flag them with a specific code such as SVC CHG (service charge) or OD FEE (overdraft fee). Common fees to look for include:
- Monthly maintenance fees, sometimes waived if you meet a minimum balance or direct deposit requirement
- Overdraft or non-sufficient funds (NSF) fees
- Out-of-network ATM fees
- Paper statement fees
- Wire transfer fees
If you see a fee you do not recognize, contact your bank to ask what triggered it. Banks sometimes reverse a fee once, particularly for customers with long account histories and no prior incidents. This is general information; whether a fee can be waived depends entirely on your bank's policies and your account agreement.
Flag any transactions you do not recognize
Go through every debit on the statement and confirm you authorized it. Write down any entry you cannot place. Then cross-check your receipts or your bank app before concluding it is fraudulent; some merchants post charges under a parent company name that differs from the store name.
If a charge is genuinely unrecognized after checking, contact your bank to initiate a dispute. Most banks require you to report unauthorized transactions within a specific window, typically 60 days from the statement date, to preserve your full rights under federal consumer protection rules. Verify the exact deadline with your account agreement.
This article is for general informational purposes only and does not constitute personalized financial, legal, or tax advice. Consult a licensed financial professional for guidance specific to your situation.
Putting statement review into a monthly habit
Reading one statement carefully is a useful exercise. Reading every statement, month after month, is what protects your account over time. A recurring fee that starts small can grow or multiply. A subscription you canceled may quietly continue charging. A fraudulent transaction that goes unreported past your bank's dispute window may become unrecoverable.
Set aside roughly 15 minutes at the same point each month, such as when the statement arrives or closes, to work through the steps above. Building a consistent monthly money routine can help you combine statement review with other financial check-ins so nothing gets skipped.
If you want to use statements as part of a broader year-end review, a year-end personal finance checklist can help you organize 12 months of records before tax season. Understanding how your debit card transactions appear on statements also connects directly to how debit and credit cards move money differently, since each card type posts charges in distinct ways.